- Home
- About Us
-
Training
▼
- Graphics Design
- 3D Animation & VFX
- UI & UX Design
- Interior Design | Architecture
- Civil Engineering
- Mechanical Engineering
- CNC & CAM Engineering
- Mould Design Engineering
- Art CAM Design Engineering
- Electrical Engineering
- Automobile Electric Automation Engineering
- Computer Aided Design Course Content
- Computer Aided Engineering
- Aeronautical Engineering
- Advance Program In MEP
- Advance Program In Composition and Editing
- 3D Scan Reverse Engineering In Product Design
- Gallary ▼
- Blog
- Inquiry
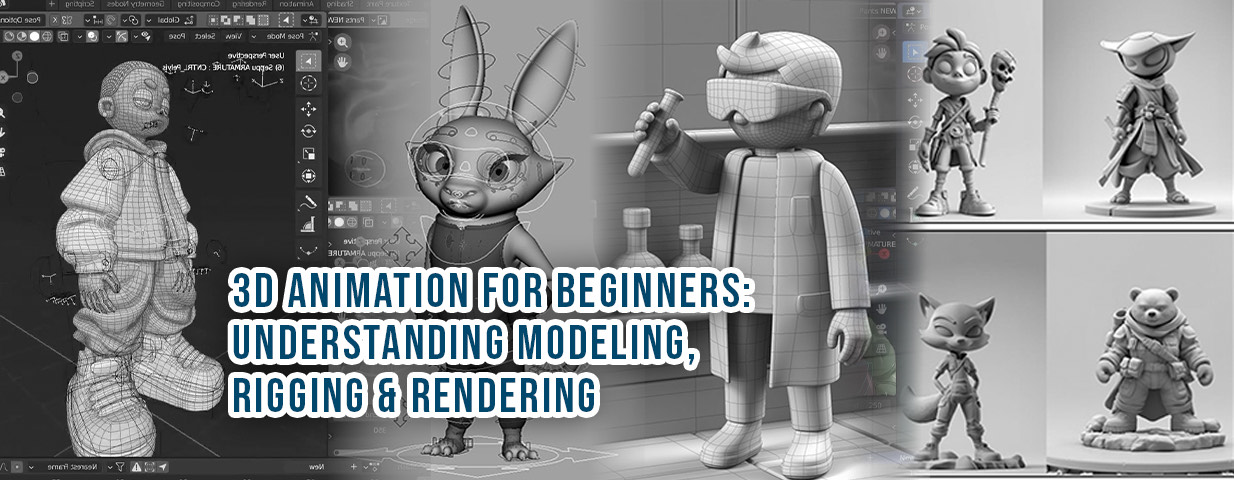
3D Animation for Beginners: Understanding Modeling, Rigging & Rendering
Introduction
Stepping into the world of 3D animation can feel like entering a vast universe of possibility — characters that move, scenes that breathe, and visuals that tell a story. But behind every animated scene are three core pillars: Modeling, Rigging, and Rendering. When you join the 3D Animation Course in Ahmedabad at JM CAD, you’ll learn how these integrate to bring ideas to life.
What Is Modeling?
Modeling is the foundation. It’s the art of creating three-dimensional objects within a software environment — think of sculpting digitally. Whether it’s a character, a product, or an environment, modeling gives form and shape. Tools like Blender, Maya, or 3ds Max are typically used for this. Clean topology, efficient mesh layout, correct scale — these are all part of good modeling practice.
What Is Rigging?
Once your model is complete, it’s still static — a sculpture that can’t move. That’s where rigging comes in. Rigging is the process of adding an internal skeleton (bones, joints) to your model so it can be posed, animated, and moved. You’ll learn about forward and inverse kinematics, weight painting, control rigs, and how animators use rigs to create believable motion. In software tools like Blender and Maya, this stage is essential for characters or any object that needs movement.
What Is Rendering?
Rendering is the final step — it transforms your model, rig, textures, lighting, and animation into the final image or video you see. It’s where light, shadow, color, materials, and camera angles come together. You’ll discover both real-time rendering (for games and interactive content) and high-quality offline rendering (for films, product renders, and cinematic sequences). Good rendering makes all the earlier work shine.
Why These Three Matter Together
- Modeling → sets the structure
- Rigging → enables movement
- Rendering → gives final polish
If anyone is weak, the whole piece can feel off. For example, a beautifully modeled character that has a poor rig will deform awkwardly during motion; no matter how gorgeous the rendering is, the motion will never feel convincing.
How Our 3D Animation Course in Ahmedabad Teaches You
At JM CAD, we don’t just teach each part in isolation. In our 3D Animation Course in Ahmedabad, you’ll:
- Build modeling skills from basic shapes to complex characters
- Rig models for motion — arms, facial expressions, cloth movement
- Apply rendering techniques to turn scenes into polished visuals
You’ll use tools like Blender, Maya, Cinema 4D, and rendering engines like Arnold, Cycles, or others, depending on the project. Through hands-on projects, you’ll see how these stages interconnect, which is what makes our training among the best among design and animation institutes in Ahmedabad.
FAQs
Do I need prior experience to start?
How long does it take to learn modeling, rigging & rendering basics?
What software will I use in this course?
Will I get a portfolio by the end?
Conclusion
Modeling, rigging, and rendering are the three pillars of 3D animation. When you master them, you unlock the ability to tell stories that move and visuals that impact. If you’re looking for a solid start, the 3D Animation Course in Ahmedabad at JM CAD offers beginner-friendly, hands-on training with expert guidance. Take the first step, and let your ideas take shape and motion.